My photo
AB, Canada
I am fortunate enough to have my dream job of staying at home with my two beautiful daughters. I've been happily married for 6 years and counting! I am a lover of all things french, all things pink, and anything that sparkles. Serioulsy, my husband calls me a crow. I love baking, crafting and throwing big parties, especially if they have a theme. Right now, I'm in love Pinterest. My Hero is Heather from Sprinkle Bakes and my mom.
Showing posts with label valentines. Show all posts

Tuesday, March 15, 2011

Another Lampshade and Another Burn.

Oh man guys! I am so tired right now.
Seriously, I  can hardly keep my eyes open.
The only thing keeping me up is the sound of dreams being crushed on the Dragons Den show and of course my excitement for my 'new' lampshade!

I saw a tutorial on Pinterest on how to make roses from crepe paper or party streamers and I was in!

Here's what you need to make a Crepe Paper Rose Lampshade.

Party streamers, any color and more than you think you'd need. 
Glue gun and glue sticks
1 lamp


Oh yeah, and a loooot of free time, we're talking kids in bed here people.


Here's your standard party streamer, I paid $1.00 a roll. 

Rip 24" strips. Crumple up each strip.

Now un-crumple.

Roll up one end, 4-5 rolls tightly.

Keep rolling, getting looser, but keeping the bottom tight and pinched.

It should really start looking like a rose. Keep rolling....

Tada!!

Now the tricky part. I snipped the pinched part of the rose, and put hot glue on the base (NOT your finger).
Place the flower where ever you want on your shade.

I really wanted to cover the whole shade, but I reeeeaaaaallllyyy  underestimated how long it takes.

I took a whole roll to do just around the bottom of the shade. 
And I now have arthritis. 

But it looks gorgeous!

And romantic too!
Too bad its for the guest room :(


I've now run out of lamps to re-vamp, so you can look forward to a new topic next time!

Monday, February 14, 2011

Happy Valentine's Day! We Made It!!!

To all you love birds out there, Happy Heart Day!
I'm going to keep this post like me, short and sweet! This recipe comes from my baking hero, yes, Sprinkle Bakes again! I'm sorry I can't help it if every recipe she comes up with is a no-fail, gorgeous success!!

Here's my tribute to Heather of Sprinkle Bakes Heritage Red Velvet Cake. In cupcake form.


This was my cocoa and coloring mixture. 

The batter all coming together.


My first valentine. I heart you Peanut! 


My second valentine. I heart you Bug!


I piped the cream cheese frosting, but really there was no point. The icing was just too thin of a consistency, I was afraid if I added more icing sugar I would lose the cream cheese flavor.


The famous red inside! If you click on these pictures, they will show you their true color.


This truly is THE best red velvet recipe you will ever come across. It's moist, flavorful, perfectly colored and best of all, beautiful. A perfect treat for any ones valentine. Mine are making an appearance at my mother-in-laws annual Valentines Tea tonight!

Sunday, February 13, 2011

Paper Flower Valentines and a Missing Charger.

Not that that title leaves much to the imagination, but just so we're clear people, I'm missing my camera charger, not a car.

This is the main reason why my post has been so late, and we went tobogganing. But mostly I've been searching the house high and low for my battery charger. I know as soon as I go out and buy a new one, I'll find it.

I feel as though this post is going to be somewhat of a letdown, good thing it's not the final one! I'm basically going to give you the link to see Martha's version of what I made, it was her idea originally, but I think I made a way easier way.

What you need to make Paper Flower Valentines for someone you love:


Any color of paper, I like red and red glitter paper
Heart paper punch (optional)
Some pretty brads. . .

Yes, these are pretty Brads, but I'm talking crafting brads ladies! FOCUS!


Cut out your hearts, keep them all the same size, which is why a paper punch is nice, and write a word on each or a few words, like your favorite quote, or even little love coupons, such as good for one free back rub etc.

I did 6 small hearts, one word on each, that say "I'll follow you into the dark" from one of my favorite love songs.

Poke the brad through the point of each, starting with the first word first. Spread out the brad tines so they secure the hearts and they don't slid off.

Bend the paper hearts just slightly in half so they resemble the petals of a flower.

And you're done!

I am really sorry I have no pictures, but Martha has some cute pictures that will give you an idea of what they look like. These are a really awesome kids craft too. And they are really easy to do up all fancy like if you're giving them to a certain special someone. 

And just because this post kinda bit the big one, tomorrow's is going to be show stopping. . . Or is it blog stopping?

I am going out to buy a charger. Now.


Wednesday, February 9, 2011

Day Nine : Heart Wreaths

There are a few household items that I really shouldn't own but do. The following are everyday (for me anyways) items that cause bodily harm to myself and therefore need to be Ali-proofed. 

1) Glue Gun - Top of my list mostly because I JUST burned myself making these cutesy heart wreaths.

2) Any Sharp thing- I think this is pretty self-explanatory.

3) Stacking Washer/Dyer  - This is really only on the list because of my height. At an impressive 5 ft. I manage to walk into the dryer door almost every time I'm in the laundry room. This could also be because I leave the dryer door open . . . 

But I digress. Back to burning myself on the glue gun.

I was planning on doing this craft this afternoon with Venice while Giselle slept, but her Nana and Papa came and got her for a playdate, YAY Grandparents!! Good thing too, cause I'm tough and can handle a glue gun burn, but that little peanut has a few more crafting days until she develops the dragon calluses of a seasoned crafter. 

I digress again! Enough rambling you say, on with the show!

OK,OK!

Cut out the center of a paper plate. 

Cut out a buh-zillion paper hearts of all different sizes and colors. I used many tones and textures from the same color family. I like the monochromatic look. 


Glue gun (caaaarrreeeeffuuuulllllyyyy) all your hearts on to the paper plate rim.  
PS. Did you know that there are glitter glue gun sticks ? !  GLITTER,  PEOPLE ! ! I thought about the fact that no one will see the glitter AFTER I bought them. But I'll know. And know you'll know. 


Glue till your heart is content. And remember,  More is More!


I made one for Venice, using all pinks and I added some fabric covered brads to send her a little message from her Mamma.


Here's the finished project, hanging on my peanuts door.
I can't wait for her to come home! 


I was on a roll so I did 2 more for my front entry closet doors. I used my accent color.


Now if you like these, then I made them. If you think they look like a child made them then Venice made them and you can ignore my story earlier about her being gone, OK? OK!

Tuesday, February 8, 2011

Clouds of Chocolate! Day 8 Baby!

If you're here reading this you must be hard-core Valentiners! We've passed the half way mark and are on the down hill! That means I need to amp up the love right? Well these little puppies should do the trick!
Chocolate Chip, Dark Chocolate Cloud Cookies! 
That's a mouthful! (literally too, I totally snuck one from myself)

Once again, easy recipes prevail in my house, no need getting all fancy-smancy when there is a time crunch!

What you need:
1 tube of cookie dough
1 tub of cool-whip (I know you all said that in your head again, pronouncing the H) Thawed.
1 1/2 cups of semi-sweet or milk chocolate chips, depending on your preference.
1/4 cup Milk
Garnish of your choice.

What'd I tell ya, easy-peasy!

I tend to use every dish in my kitchen, even to make the simplest things. Spoon total in this recipe : 5. FIVE. Why? I don't know! I was looking back at the wake of my destructive-ness and counted 5 dirty spoons! How is this even possible? There's only like, 4 ingredients. 

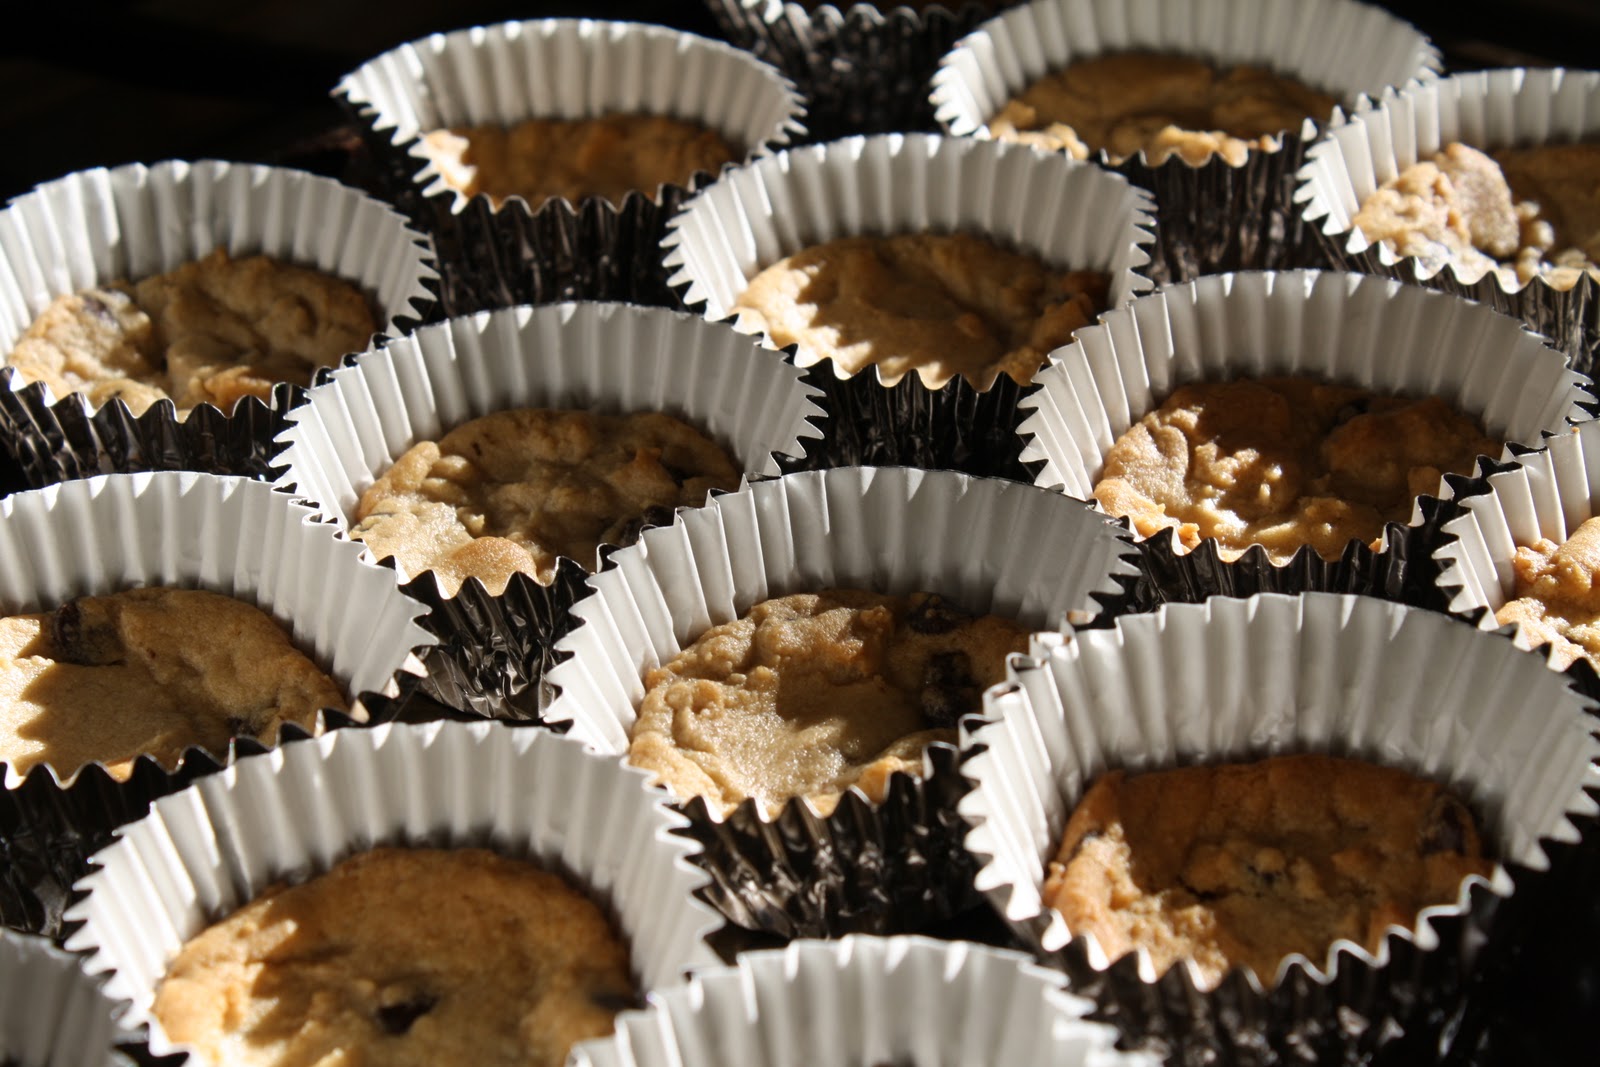
Here's my first spoon. Spoon out a tablespoon into your muffin papers or into a greased muffin tin. bake for 10-12 minutes at 350.

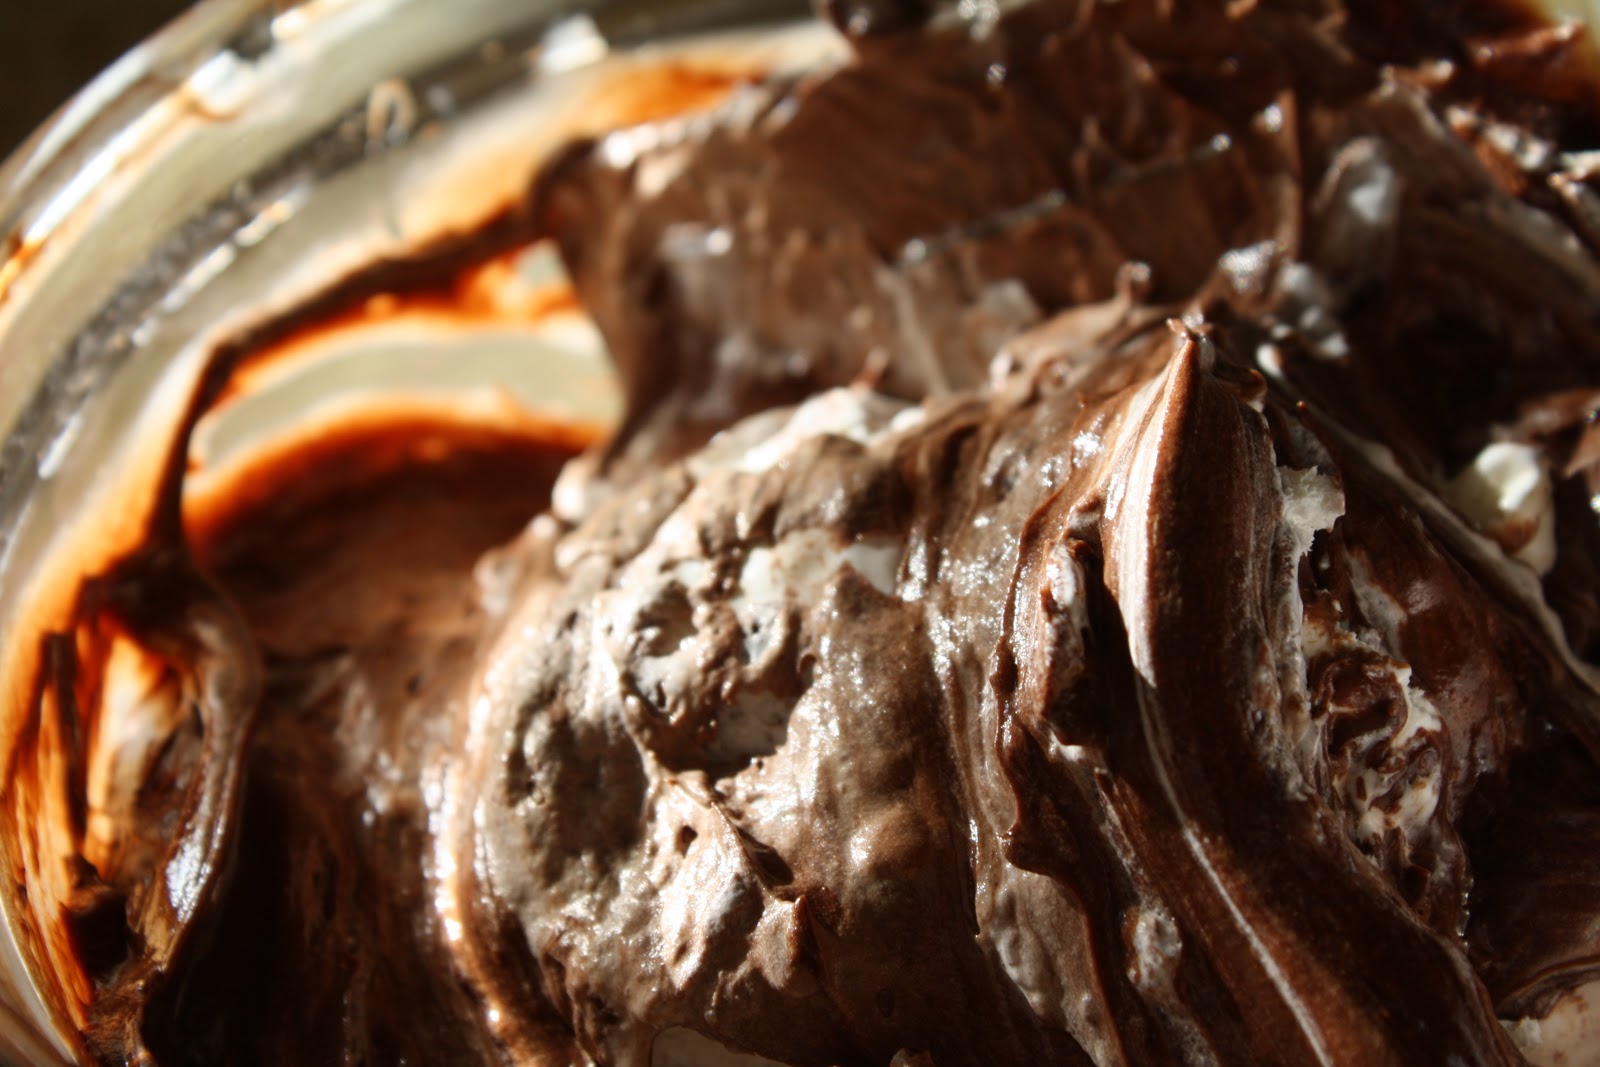
Second spoon. Melting your chocolate chips and milk in the microwave for 30 second. Stirring until smooth. Set aside for 20 min until room temp. 


Post-oven. So golden, yummm.


There are aspects of life that I enjoy, such as the gratifying feeling after vacuuming as dirty floor. There are other that I don't like. Such as folding. Nothing awesome has ever happened to me while I was folding something. Laundry, ick. Folding cool-whip into melted chocolate, double ick. It is actually quite the work out! Honestly I felt like I had just finished some Tae-Bo moves! (Which is perfect for how much 'tasting' I did) 
  With that said, fold (ugh) half of the cool-whip into the melted chocolate mixture. When combined, fold (yep, more folding) the remaining cool-whip. 
I think there was another spoon or 2 used in this step.

Pipe or spoon your filling onto your baked cookies! I piped mine because they are going to our Friendship Factor Valentine's Brunch and I wanted them to look pretty.

I love this little micro heart (generously donated by Stacey from I Wish I Was Martha) that landed right on the top.


This is one of those awesome desserts that are so simple, but look difficult. These little bites are rich, smooth, crunchy and chewy all in one. You can't beat that!

Thursday, February 3, 2011

On the Third Day of Love.....

This post is taking me forever to start because I actually have 2 kidlets napping, so I can guilt free watch Nothing But Trailers. I'm that luny that want to be an hour early to a movie so I can catch all the nerdy trivia they play before the movie starts as well as the all the previews. I usually forget what movie we're going to see because I'm so excited for the movies that aren't even out yet!

 OK OK, on with the love fest . . . . Love of sugar, that is!

On the third day of love, my true love brought to me... Cinnamon Heart Meringues!
I love the versatility of a good meringue recipe. One that you can whip up (literally) in a few minutes and add color or flavour and then pipe them or just dump it out of a cookie sheet and bake away!
Just a few simple ingredients that I had in my pantry and some eggs, which I did have to go out to buy after  I discovered Ben had used a WHOLE carton for breakfast and burnt the first batch (this is because he cooks on gas mark 19 instead of 2.) makes a simple and elegant treat that is a perfect side to any Latte or cup of tea.

Pre-heat oven to 225 degrees. (seems low, but it's true)
Just 3 egg whites
1/4 tsp of cream of tartar
3/4 cup of super fine sugar (I used regular sugar but blitzed it in a food processor)
1 tsp of cinnamon. I used Vietnamese cinnamon, I've been told it has a warmer taste and I totally fell for it. But truthfully, you can use whatever you've got.
Red or pink food coloring, I like the gel kind, makes me feel all Martha-y.


I split the it into 2 batches so I could color them light pink and dark pink.


Whip the egg whites on medium speed until frothy.
Add cream of tartar.
Whip until soft peaks form. 
Add sugar 1-2 tablespoons at a time.
Whip until the mixture is glossy, smooth and form stiff peaks.
Stir in cinnamon.


You can drop this mixture by the spoonful or you can pipe the meringue like I did into what ever shape you want. I chose hearts, and some X's and O's. But you could do anything, any color of any occasion. I told you it was versatile!!

Bake for 1 hour, then turn off oven and leave inside for 2-3 hours. I peaked a bunch and took them out after 2 hours, probably why they cracked?? Or maybe my oven is too dry, if that's possible.

Pre-Oven..


Baked and all shimmered up! I used Pink Pearl dust from Wilton (AKA Drink Sparkles!)


These have a really delicate cinnamon flavour, not strong like the heart candies. They melt in your mouth and are delish! 

Just a side note, if you don't want to use cinnamon, they are AMAZING with out it!